

How To Select And Mask Furry Animals In Photoshop
Everyone dreads cutting out hair and fur inside of Photoshop. At that place'south a slight adjustment that you lot tin brand to the way you lot do it'due south going to give you much meliorate results. Let's accept a await right now.
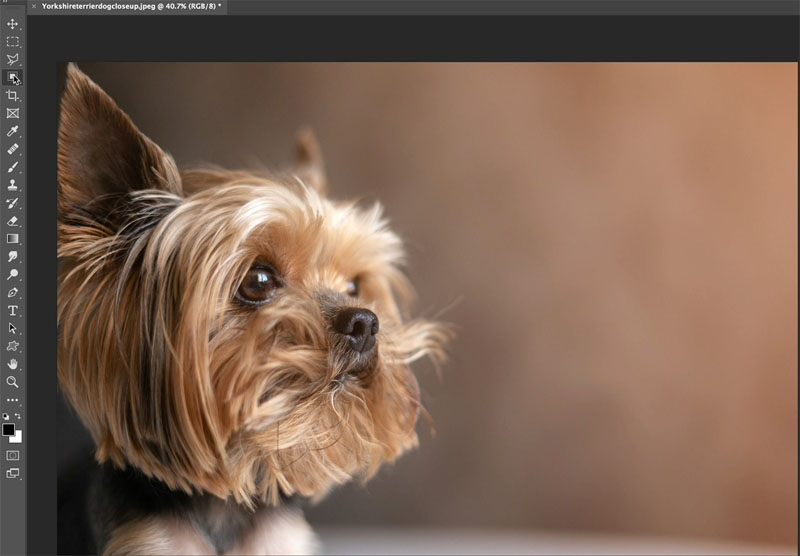
Grab this photograph from the Adobe Stock Free collection
Then permit's grab whatsoever of our magic tools

Click Select Subject
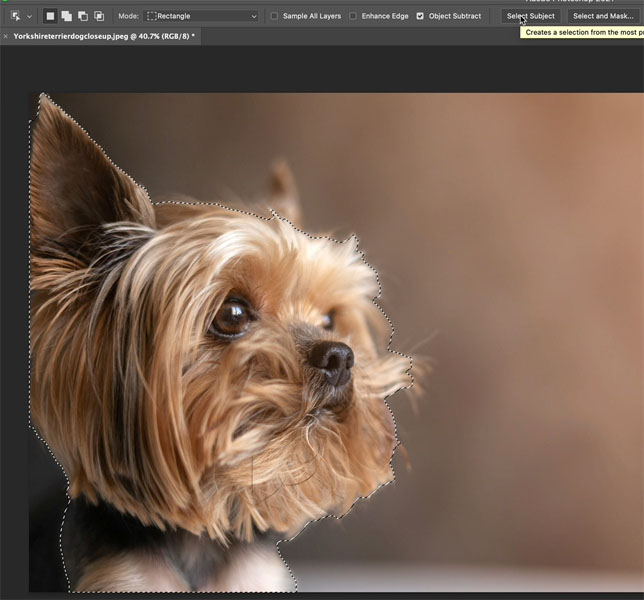
We're not trying to become a perfect cut out here. I just want to practice this very quickly to show yous the difference betwixt the 2 approaches.
We're going to choose select and mask.

Now under select and mask, you want to grab the refine castor.
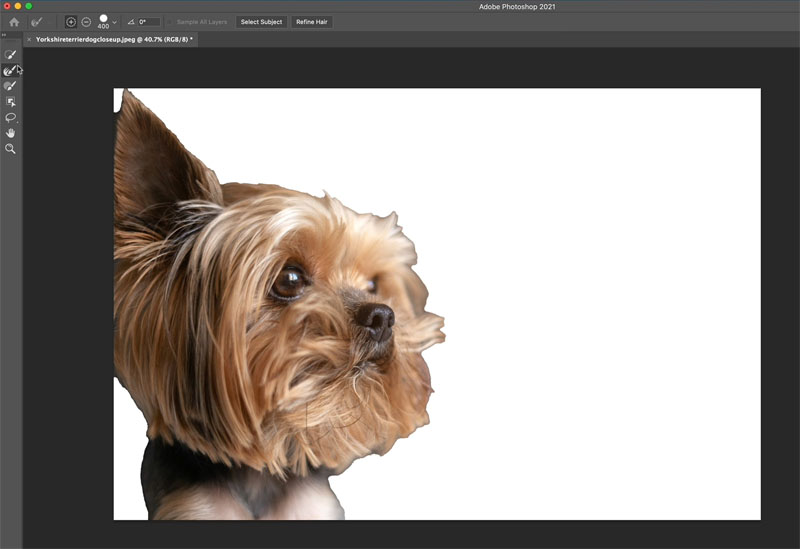
They grab the refine edge brush and paint around the edges.

Yous will meet a nicer border on the fur. This works EXACTLY the same on hair on people or animals.
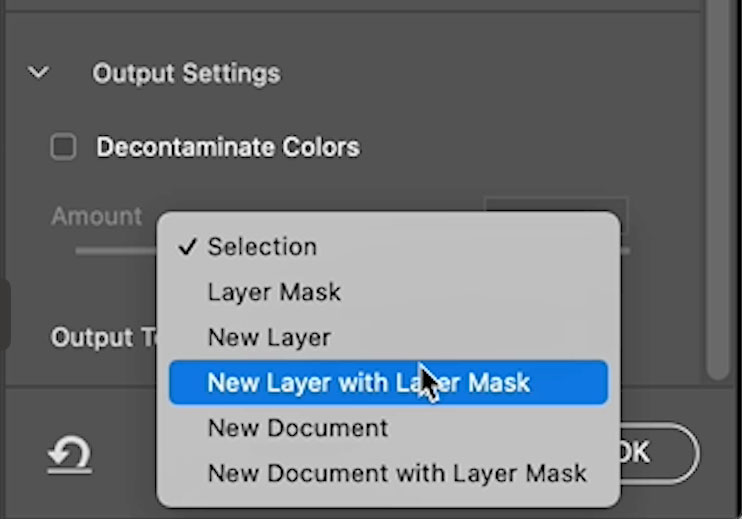
Choose select and grab a new layer with layer masks.
Click. Ok.
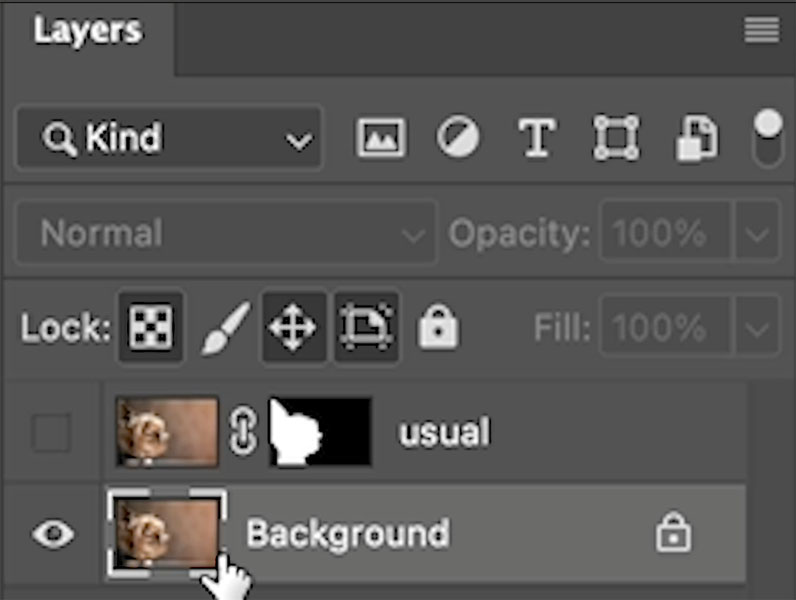
And we're going to call this 1 usual. That's how people normally practise it.
Hide the "usual" layer
and choose the groundwork. We are going to practise it once more, with the tip this fourth dimension.
Alright, let's grab it and we're going to do it over again. This time I'chiliad going to make a slight adjustment.
So permit's choose select subject field.
Then Select and Mask. Just like before.
Grab the refine brush again. I'm going to use exactly the same settings, same brush size, everything. So I'k not going to change anything.
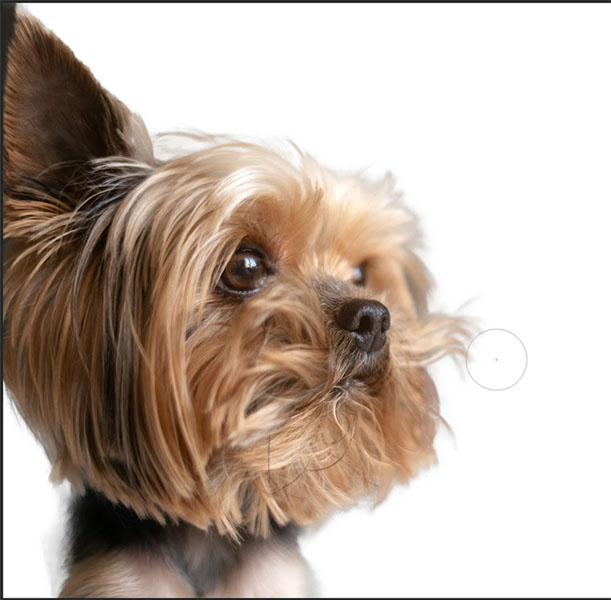
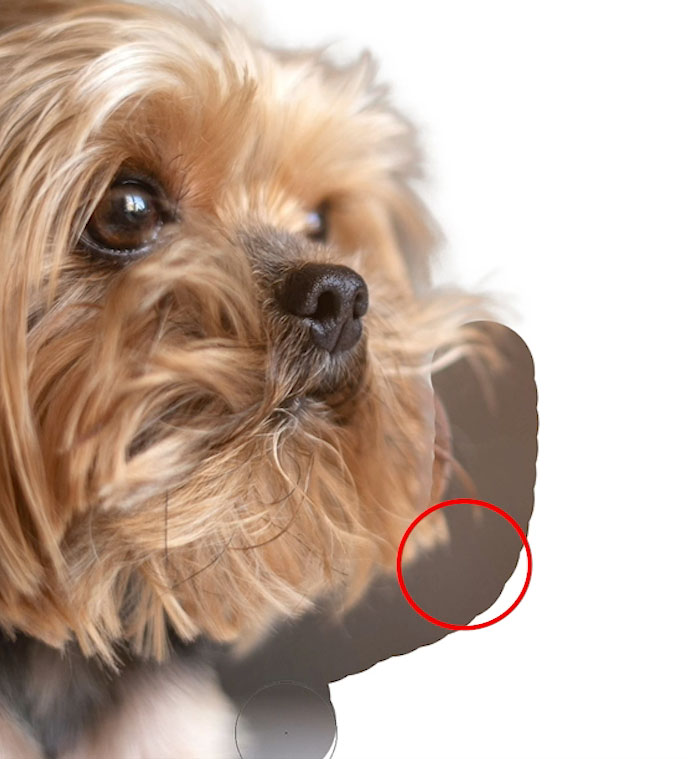
Paint on the edge. If y'all watch the video, or await at the screen grab below. You volition notice I'chiliad doing something dissimilar. Yous might not fifty-fifty find until I indicate it out.
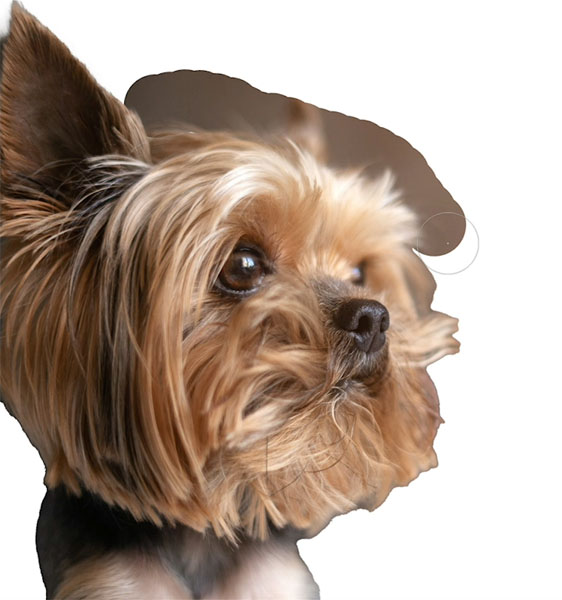
Terminal time I had the brush halfway over the subject and the background.
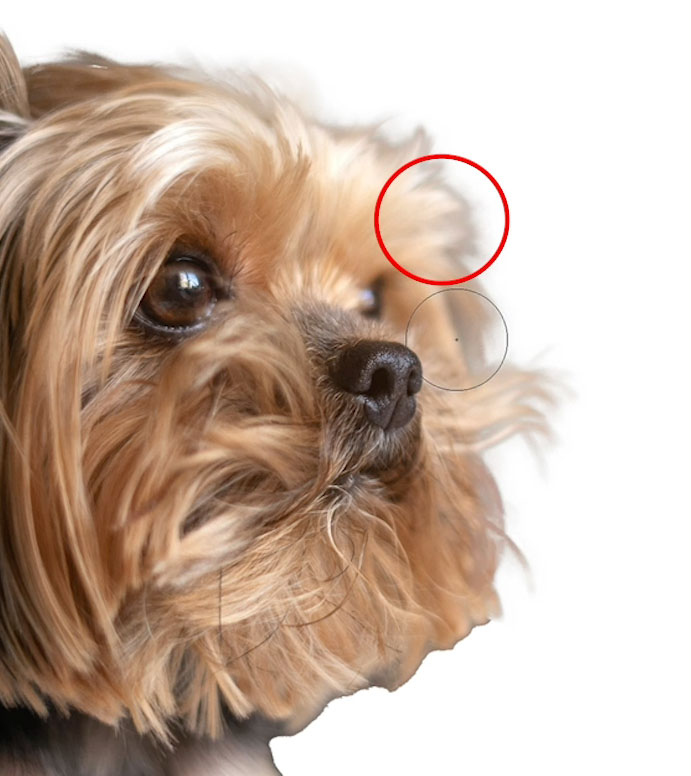
Notice what I'm doing this time. I've got the castor on the outside and I'm just letting the edge of the castor hit the edge of the fur. Afterward countless hours of masking, I noticed this approach gets amend results than how I used to do it.
Permit's see the departure.
I put a blue aligning layer nether the images to make it easier to see.
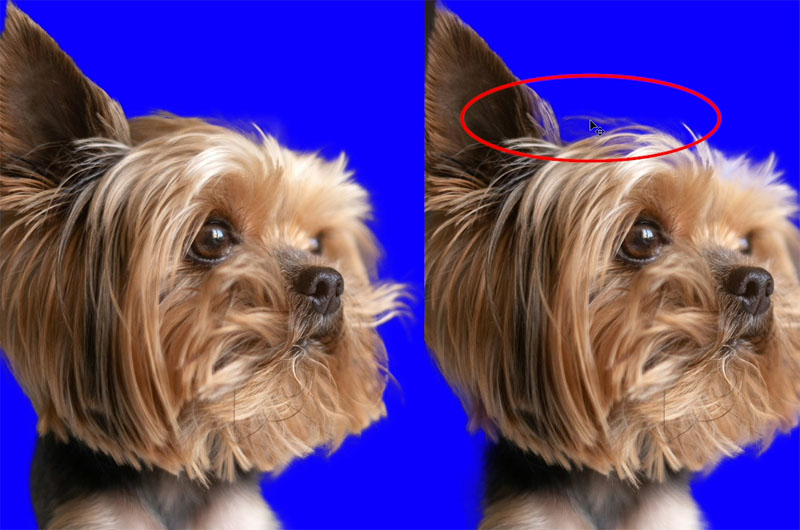
On the left is the 2nd 1 with the brush mostly on the background. On the right is the showtime ane with the brush in the middle.
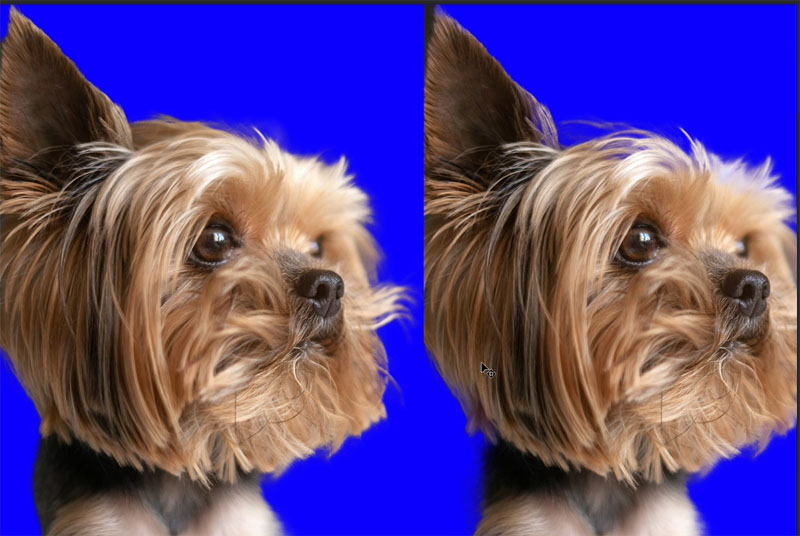
You can see making this simple adjustment, gets better results when you lot are refining your edge.
This was just a quick tip on using the refine brush. I have lots of other tutorials on making selections, refining the edge, removing edge halos and much more. Browse the free tutorials and savor them.
If y'all want to just dive in and become a selections pro, check out my Selection Secrets Course.
And it goes without maxim, but I'll say it anyway. This was not a masking challenge where I was trying to do a difficult mask or show you how quick and easy it is to go a perfect selection. All I wanted to do is just demonstrate the difference between running your brush effectually the outside or on the inside and seeing how the outside is going to give you a better hair and fur selections.
And then if you lot establish this useful or yous learned anything new, allow me know in the comments underneath. And by the way, if you guys are new, welcome to the Cafe.
Tell your friends almost PhotoshopCAFE.
And until adjacent time I'll see yous at the CAFE
Colin
Source: https://photoshopcafe.com/getting-fur-hair-cut-outs-photoshop-making-small-change/
Posted by: franklinhoge1949.blogspot.com
0 Response to "How To Select And Mask Furry Animals In Photoshop"
Post a Comment